AC Installation Process: What to Expect Step-by-Step
Share:

Your AC just died, or it’s limping through another summer with duct-taped repairs and sky-high electric bills. You’ve decided it’s time for a replacement. Good call. But now you’re wondering what actually happens when the install crew shows up. How long does it take? Will your house be torn apart? What about permits? And why does one contractor’s quote include things another one doesn’t?
The AC installation process isn’t complicated, but it does involve multiple steps that most homeowners never see. Understanding what happens—and when—helps you prepare your home, ask better questions, and spot the difference between a contractor who’s cutting corners and one who’s doing it right. Here’s what really goes into a proper ac installation in Essex County, NJ.
Air Conditioner Installation Process and Timeline
A standard AC replacement in Essex County, NJ takes between four and eight hours for most homes. That’s if you’re swapping an existing system for a new one and the ductwork, electrical, and placement don’t need major changes. If you’re adding central air for the first time, upgrading your electrical panel, or running new ductwork, plan on one to two full days.
The timeline matters because you’ll be without cooling during the install. If it’s July and 90 degrees, that’s not just inconvenient—it’s miserable. We try to schedule around weather, but it’s smart to have a backup plan (a window unit, a friend’s house, or just lowering your expectations for the day).
The process itself breaks down into a few key phases: removing the old system, prepping the site, installing the new indoor and outdoor units, connecting refrigerant lines and electrical, testing for leaks, charging the system, and running it through a full operational check. Each step has to happen in order, and skipping any of them creates problems down the road.
Central Air Conditioner Installation: What’s Involved
Central air systems are the most common setup in Essex County, NJ. You’ve got an outdoor condenser unit (the big box outside) and an indoor evaporator coil that sits inside your furnace or air handler. They’re connected by copper refrigerant lines, electrical wiring, and a condensate drain that carries moisture out of your house.
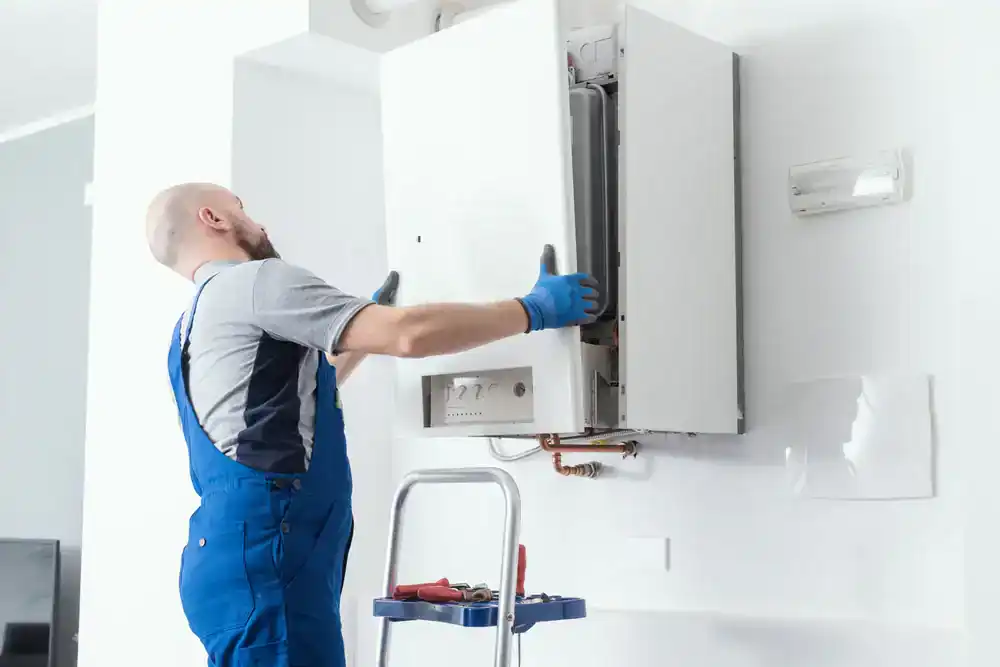
The install starts with removing your old system. That means safely recovering the refrigerant—something only EPA-certified techs can legally do—and disconnecting the electrical, refrigerant lines, and drainage. The old outdoor unit gets unbolted and hauled away. Inside, the evaporator coil gets pulled from the furnace or air handler, which sometimes means accessing tight crawl spaces or attics.
Once the old system is out, we prep the site. The outdoor pad (the concrete or composite base the condenser sits on) gets leveled or replaced. Modern AC units are bigger than older models, so the pad might need to be upsized. Inside, we’ll inspect your ductwork for leaks or damage and seal anything that’s compromising airflow.
Next comes the new equipment. The outdoor condenser gets set on the pad and leveled. The indoor evaporator coil gets mounted inside the air handler or furnace. New refrigerant lines are run between the two units—either through existing paths or new holes drilled through walls. These lines have to be the right size for your system, properly insulated, and brazed (welded) at every connection point to prevent leaks.
Electrical work comes next. Your AC needs its own dedicated circuit, and most municipalities in New Jersey require a disconnect box installed near the outdoor unit. If your electrical panel can’t handle the load, you’ll need an upgrade before the AC can be hooked up. This is where unlicensed contractors sometimes cut corners, but it’s also where fires start if it’s done wrong.
The condensate drain line gets connected to a floor drain or routed outside. This is the PVC pipe that carries the moisture your AC pulls out of the air. If it’s not sloped correctly or doesn’t have a safety overflow switch, you could end up with water damage inside your home.
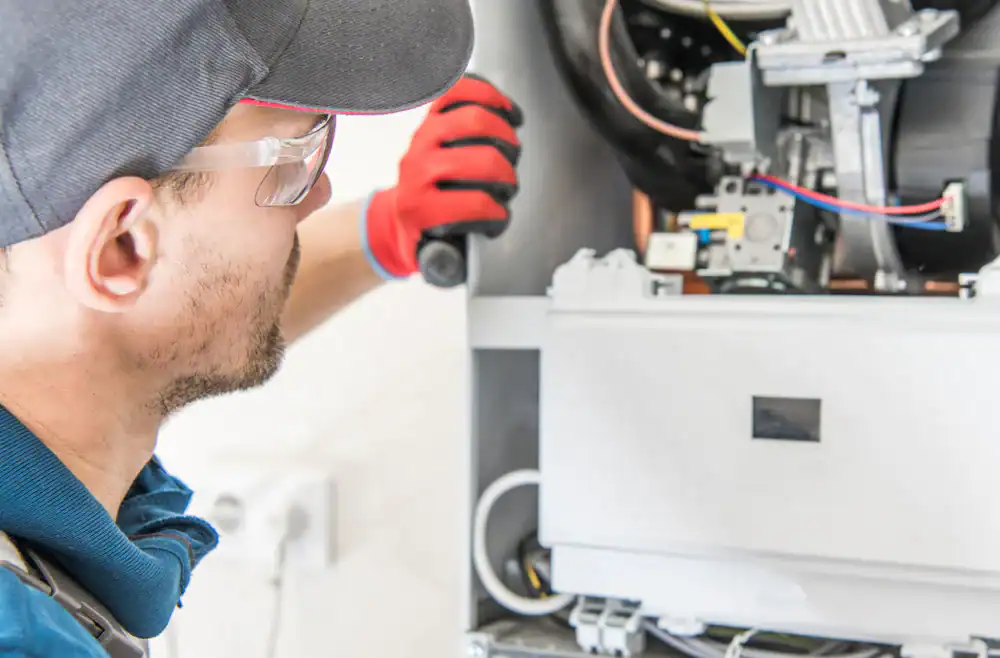
Once everything is connected, the system gets vacuumed. This removes air and moisture from the refrigerant lines, which is critical for efficiency and longevity. Then the refrigerant valves get opened, the system is charged per the manufacturer’s specs, and we run it for 15 to 20 minutes to check airflow, temperature drop, and overall operation. If something’s off, we adjust it before we leave.
Mini Split Installation: A Different Approach
Ductless mini split systems are growing in popularity, especially in older Essex County, NJ homes that don’t have existing ductwork or in additions where running ducts isn’t practical. The install process is simpler in some ways, more precise in others.
A mini split has an indoor wall-mounted unit (the head) and an outdoor condenser. They’re connected by a small bundle of refrigerant lines, electrical wiring, and a condensate drain that runs through a three-inch hole in the wall. No ductwork required.
The install starts with placement. The indoor unit usually goes high on an exterior wall—about seven feet up—in a spot that allows for good airflow and drainage. The outdoor condenser goes on a pad or wall bracket outside, ideally on the north or east side of the house to avoid direct sun. The closer the two units are to each other, the more efficient the system runs.
We mount a bracket inside, drill the hole through the wall at a slight downward angle (so water drains out, not in), and thread the refrigerant lines, electrical, and drain hose through. The indoor unit clips onto the bracket, and the outdoor condenser gets bolted to its pad or bracket.
Connections happen next. The refrigerant lines get flared and torqued to exact specs—too loose and you’ve got a leak, too tight and you damage the fitting. The electrical gets wired according to the manufacturer’s diagram. The condensate line gets routed to a safe drainage point.
Just like with central air, the system gets vacuumed to remove air and moisture, then the refrigerant valves are opened. We power it on, check for leaks using soapy water or an electronic detector, and run it through heating and cooling modes to confirm everything works. Multi-zone systems (where one outdoor unit serves multiple indoor heads) take longer because each zone has to be tested and balanced.
Mini split installation typically takes four to six hours for a single-zone system. Add more zones and you’re looking at a full day or more. The benefit is you get room-by-room temperature control and don’t lose 30 percent of your cooling to leaky ductwork like you do with central air.
Permits, Licensing, and Code Requirements in New Jersey
Here’s where a lot of homeowners get surprised: AC installation in New Jersey requires permits. Not sometimes. Every time. Whether you’re replacing an existing system or installing a new one, your contractor needs to pull permits from your local building department before any work starts.
The permits typically include mechanical (for the HVAC work itself), electrical (for the wiring and disconnect), and sometimes plumbing (if the condensate drain ties into your home’s plumbing). Each municipality in Essex County, NJ has its own process, but the contractor—not you—should be handling this. If someone tells you permits aren’t necessary or offers a discount to skip them, walk away. That’s a red flag.
Permits exist for a reason. They ensure the work meets safety codes, the equipment is installed correctly, and everything gets inspected by someone who isn’t trying to sell you something. Skipping permits can void your homeowner’s insurance, kill your equipment warranty, and create problems when you try to sell your house.
What Happens During the Inspection
After your AC is installed, an inspector from your municipality comes out to verify the work meets code. They’re checking electrical connections, refrigerant line installation, condensate drainage, proper clearances around the equipment, and that everything matches what was listed on the permit.
This isn’t a hassle. It’s protection. The inspector isn’t looking to fail you—they’re making sure the contractor did the job right. If something doesn’t pass, the contractor has to fix it before you get final approval. That’s a good thing, especially when you’re talking about high-voltage electrical work and pressurized refrigerant systems.
The inspection usually happens within a few days of installation, depending on your town’s schedule. Some municipalities require the homeowner to be present, others don’t. We coordinate this and let you know what to expect.
In New Jersey, only licensed contractors can pull HVAC permits. That means your installer needs to be properly licensed, insured, and registered with the state. You can verify this through the New Jersey Division of Consumer Affairs. If they’re not licensed, they can’t legally do the work, and you have zero recourse if something goes wrong.
A proper contractor will also carry liability insurance and workers’ compensation. If someone gets hurt on your property or damages your home during the install, you want to make sure you’re covered. Ask for proof of insurance before any work starts, and don’t just take their word for it—call the insurance company to confirm the policy is active.
One more thing: refrigerant handling requires EPA Section 608 certification. This is federal, not state. Any tech working on your AC should have this certification. It’s illegal to vent refrigerant into the atmosphere, and improper handling can damage your new system or create safety hazards. Licensed contractors know this. Unlicensed ones often don’t care.
How to Prepare Your Home Before Install Day
A little prep work on your end makes the install go faster and protects your stuff. Start by clearing a path from the street to wherever the indoor and outdoor units are going. Move furniture, rugs, and anything breakable out of the work area. If the crew has to navigate around your grandmother’s antique table, it slows them down and increases the risk of damage.
Outside, trim back any bushes or landscaping around the old AC unit and where the new one will go. The condenser needs clearance on all sides for airflow, and the crew needs room to work. If there’s a fence, gate, or other obstacle blocking access, deal with it ahead of time.
Secure pets and kids. AC installation involves power tools, open flames (for brazing refrigerant lines), heavy equipment, and strangers in your house for most of the day. It’s loud, it’s disruptive, and it’s not safe for curious pets or small children to be underfoot.
Expect your power to be off for part of the day. The crew will shut off the breaker to your HVAC system and possibly your main breaker depending on the electrical work involved. Charge your devices, plan meals that don’t require cooking, and let anyone working from home know they’ll need a backup plan.
If your AC is in the attic, basement, or crawl space, make sure the crew can access it easily. Clear out stored boxes, holiday decorations, or whatever else is blocking the area. The faster they can get in and out, the faster you get your new system up and running.
We lay down drop cloths and floor protection, but it doesn’t hurt to cover anything you’re particularly worried about. Dust and debris are part of the process, especially if we’re cutting into ductwork or drilling through walls.
Finally, plan to be home for the entire install. You don’t have to hover, but someone over 18 needs to be there to answer questions, approve any changes, and sign off on the completed work. We’ll walk you through the new system at the end—how to operate it, change filters, and when to schedule maintenance—so you’ll want to pay attention.
Getting Your AC Installation Done Right
The AC installation process isn’t something most homeowners think about until they’re in the middle of it. But understanding what’s involved—from permits and prep work to testing and final inspections—helps you make better decisions, avoid contractors who cut corners, and get a system that actually lasts 15 to 20 years instead of limping along for five.
The right contractor handles permits, protects your home, sizes your system correctly, and doesn’t disappear the minute the check clears. They explain what’s happening, why it matters, and what you can expect at each step. That’s not a luxury. It’s the baseline.
If you’re in Essex County, NJ and need AC installation that’s done right the first time, we’ve been handling this work since 1973. Transparent pricing, proper licensing, and no surprises.
Article details:
- Published by:
- Adriatic Aire LLC
- Published to:
- Last modified:
- May 5, 2026
Share:
Continue learning: